How to Route Oil Cooler Hoses for Best Performance 2026

Time:2026-11-02 Author:Henry
0%

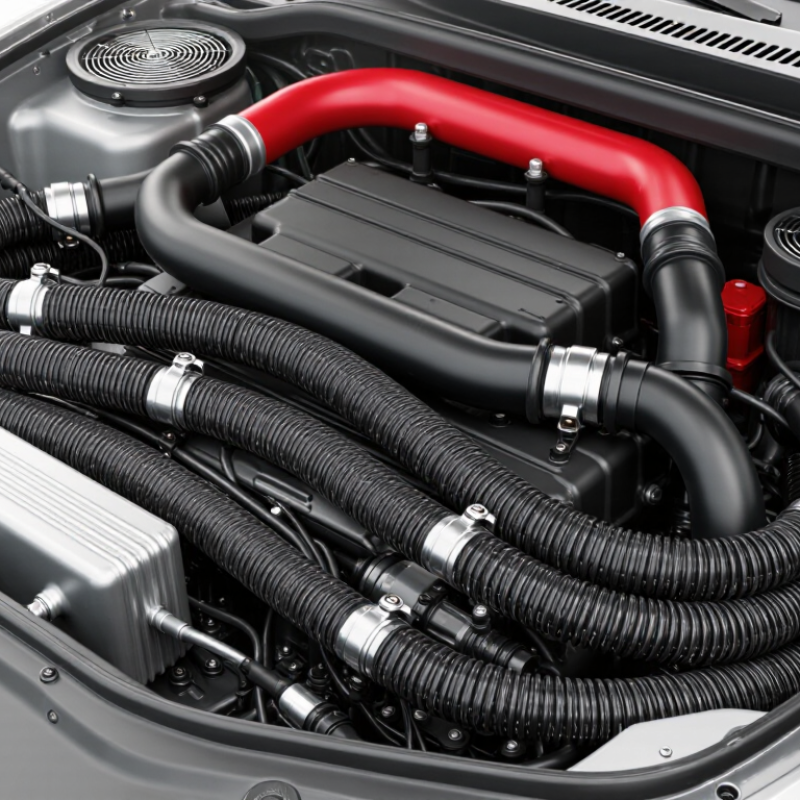
Oil cooler hoses do more than carry oil between the engine and cooler. Their route affects flow, heat exposure, vibration, and long-term reliability. A hose that looks neat in a stationary engine bay may rub against a bracket once the engine moves. Small details matter: a tight bend near a fitting, a clamp touching a sharp edge, or a line passing too close to an exhaust pipe can become a failure point. Clearance is not just appearance.

How to route oil cooler hoses for optimal performance? Start with the vehicle and component manufacturers’ instructions, then check the hose’s temperature and pressure ratings. Plan a smooth path with generous bends, secure supports, and room for normal engine movement. Keep hoses away from exhaust heat and moving parts, while avoiding unnecessary length that can sag or vibrate. These checks are practical, but they cannot replace the correct parts or a careful inspection.

A clean installation helps. It is not proof of a safe one. After routing, inspect the full hose length, fittings, and support points, then check again after the first heat cycle and a short drive. Look for seepage, scuff marks, softened sections, or loosened clamps. Every engine bay is different, and sometimes the ideal route is not possible without changing the setup. That is worth reconsidering, not hiding. The sections ahead explain how to choose a route, avoid common mistakes, and verify the installation with confidence.
How to Route Oil Cooler Hoses for Best Performance 2026

Assess Oil Cooler Requirements and Hose Specifications

Before choosing oil cooler hoses, estimate the heat load and pressure the system will actually see. Engine size alone is not enough; towing, long climbs, and repeated high-speed runs can change oil temperatures substantially. Record the expected operating temperature and maximum pressure, then check that both the hose and fittings are rated for those conditions. Leave a sensible margin. A rough estimate can still be wrong, so verify it against measured temperatures when possible.

Choose a hose with an oil-compatible inner liner and a suitable temperature range. Its internal diameter should match the cooler connections; a narrow section can restrict flow, while an oversized hose may be harder to route neatly. Check the minimum bend radius in the hose specifications. Measure the planned route with the engine bay cool, allowing extra length for engine movement and service access. Measure it cold.

Plan the path away from exhaust pipes, sharp edges, and moving belts. Where clearance is limited, use heat shielding or abrasion protection, and secure the hose without crushing it. Keep bends broad near fittings; tight turns can kink the line or strain connections. After installation, inspect for rubbing, leaks, and contact during engine movement.

Small details matter. Recheck the routing after a short drive, since a hose can settle differently than expected.

Map a Safe and Efficient Hose Routing Path

Map the hose path before tightening any fitting. Keep each line clear of exhaust manifolds, sharp edges, and moving parts. A few extra centimeters can prevent a costly rub-through. Avoid tight bends near the cooler or engine block; follow the hose maker’s minimum bend radius. Keep the path smooth. Support long runs with cushioned clamps, but do not crush the hose. Leave enough slack for engine movement without letting the line sag into a pulley or steering component.

Check the route with the suspension and steering through their full range of motion. On a cold engine, look for pinch points and places where the hose might touch nearby metal. Heat shielding can help near warm surfaces, but it cannot fix poor clearance. I would rather reroute a line than rely on a sleeve alone. That choice can be easy to miss. Tighten fittings with suitable tools, then run the engine and inspect for leaks as the oil warms. Recheck the clamps and hose position after the first drive. A tidy route may still need adjustment. The oil cooler’s position, engine movement, and service access all matter. Keep fittings reachable, so future checks do not require removing unrelated parts.

Choose Compatible Hoses, Fittings, and Mounting Points

How to Route Oil Cooler Hoses for Best Performance 2026

Choose hoses rated for the oil type, operating temperature, and system pressure. Match their internal diameter to the cooler and engine connections; a mismatch can restrict flow. Fit matters. Confirm whether each connection needs a threaded fitting, flare, or hose-end adapter, and use the correct sealing method. Do not rely on extra sealant to fix incompatible threads.

Plan the route with the engine in its normal position. Keep hoses clear of exhaust heat, sharp edges, belts, and steering parts. Leave enough slack for engine movement, but avoid loops that can rub or trap heat. Respect the hose maker’s minimum bend radius; a tight turn near a fitting can weaken the line. I still check clearance by hand after installation, because a tidy-looking route can hide contact points.

Mount the cooler securely where it gets steady airflow and remains protected from road debris. Support long hose runs with cushioned clamps, without crushing them. After filling the system, start the engine and inspect each joint for leaks, then recheck after a short drive. A small weep deserves attention. Routing advice cannot replace the vehicle’s service specifications, and that is easy to overlook when a layout seems straightforward.

How to Route Oil Cooler Hoses for Best Performance 2026 - Choose Compatible Hoses, Fittings, and Mounting Points

Routing area Selection or placement Good-practice target What to check
Hose specification Choose hose designed for the oil type and service conditions; confirm its working-pressure and temperature ratings. Rate the complete assembly for the system’s maximum operating pressure and temperature, including transient conditions. Check the hose and end-fitting documentation. Do not assume a hose’s appearance or nominal size establishes its rating.
Hose diameter and length Match the hose inside diameter to the cooler, adapter, and engine or transmission circuit requirements. Use the shortest practical route that still allows smooth bends, secure support, and movement where required. Avoid reducing the flow path with undersized fittings or abrupt transitions; confirm the circuit’s specified flow direction.
Bend radius Plan broad curves instead of sharp turns, especially close to crimped or reusable hose ends. Meet or exceed the minimum bend radius specified for the exact hose construction and size. Inspect the full route for flattening, kinks, or a bend that tightens when the engine or suspension moves.
Fittings and ports Match thread type, size, sealing method, and fitting material to the cooler and adapter ports. Use fittings intended to work with the selected hose; keep adapters and joints to the minimum needed. Do not force unlike threads together. Verify whether each connection seals at a flare, O-ring, tapered thread, or another specified face.
Hose orientation Position fittings so the hose naturally follows its route without being pulled, twisted, or forced sideways. Allow for engine movement and thermal expansion without letting the hose rub or load the fitting. Mark the hose before tightening if needed, then check that the mark remains aligned and the hose is not under torsion.
Heat and exhaust clearance Route hoses away from exhaust parts and other high-temperature surfaces; use a suitable heat shield if separation cannot be maintained. Follow the hose and vehicle manufacturers’ temperature and clearance guidance rather than relying on a universal distance. Check clearance after installation and under operating movement; shielding does not make an unrated hose suitable for excessive heat.
Abrasion and moving parts Keep hoses clear of sharp edges, belts, fans, steering components, and suspension travel. Use protected routing and suitable clamps or cushioned supports at intervals appropriate to the hose and vehicle layout. Cycle steering and suspension through their usable range where applicable; check for contact, pinching, or tension.
Support and mounting points Support the hose body independently; mount the cooler securely to suitable structural points. Do not use the hose or fitting as a bracket, and avoid mounting the cooler where vibration or impact can damage it. Check that clamps do not crush the hose and that the cooler has adequate airflow and protection from road debris.
Final inspection Inspect connections, routing, supports, and cooler mounting before operation. Follow the vehicle and component manufacturers’ installation, tightening, priming, and test procedures. After the system reaches operating temperature, check for leaks and recheck the route and supports. Stop operation if a leak or hose damage is found.

Note: Exact hose ratings, bend radii, clearances, fitting torque, and installation procedures depend on the specific components and application. Verify them with the relevant technical documentation.

Install Hoses with Proper Clearance and Bend Radius

A clean route is not always a safe route. Oil cooler hoses need room to move as the engine shifts, without touching sharp edges or hot exhaust parts. Check the path with the vehicle safely supported, and look for nearby brackets, fans, and steering components. Leave enough clearance for movement and vibration. Close is risky.

Keep each bend broad and smooth. Follow the hose maker’s minimum bend-radius guidance; a tight turn can restrict flow or damage the hose beneath its outer cover. Avoid twisting the hose while tightening fittings. A useful check is to sight along its length: the hose should lie naturally, without a flattened section or a kink. Not perfect? Rework it.

Secure the hoses with cushioned clamps, but do not crush them. Add abrasion protection where a hose passes near a panel, and keep that protection from trapping heat. After installation, inspect the route with the engine off, then check again after a brief run and cool-down. Look for fresh rub marks, seepage, or a hose that has shifted. Recheck clearance through the full range of steering and suspension movement where applicable.

Check for Leaks and Verify Operating Performance

After routing the oil cooler hoses, inspect every connection before starting the engine. Look for twisted hose ends, loose clamps, sharp bends, and contact with moving parts. A few millimeters of clearance can disappear when the engine shifts under load. Wipe each fitting with a clean, dry cloth. It helps reveal fresh oil. Check the cooler core and the ground beneath the vehicle, too. A tiny damp spot is easy to dismiss, but it can point to a poor seal.

Start the engine and let it idle while watching the fittings from a safe distance. Do not feel for leaks with your hand; pressurized oil can cause serious injury. If the area stays dry, bring the engine to its normal operating temperature and check again. Watch the temperature gauge and confirm oil pressure remains within the vehicle’s specified range. Then shut the engine off, let hot parts cool, and inspect the hose path for rubbing or fresh seepage. Recheck the oil level after the test. A fitting that looked secure once may need another careful look. Finish with a short drive, then inspect again on level ground.

FAQS

What should I check before selecting an oil cooler hose?

Estimate the system’s operating temperature and maximum pressure. Towing and long climbs can raise heat beyond normal driving. Leave a sensible margin, then compare your estimates with measured temperatures when possible.

How do I choose the correct hose size?

Match the hose’s inner diameter to the cooler and engine connections. A narrow section can restrict flow; an oversized hose may be awkward to route. Measure it cold.

How much extra hose length should I allow?

Measure the planned route with the engine cool. Allow room for engine movement and future service access, without leaving loose loops. Check the hose’s minimum bend radius.

Where should the hoses run?

Keep them away from exhaust pipes, belts, steering parts, and sharp edges. Use heat shielding or abrasion protection where clearance is limited. A neat route can still hide a rubbing point.

How should I support long hose runs?

Use cushioned clamps, positioned so they hold the hose without crushing it. Mount the cooler securely where it receives steady airflow and avoids road debris.

How can I check for leaks after installation?

Wipe each fitting with a clean, dry cloth before starting the engine. Idle the engine and watch the connections from a safe distance. Never feel for leaks by hand.

What should I inspect after a short drive?

Park on level ground and check the fittings, cooler, hose path, and oil level. Look for fresh seepage or rubbing. Small details matter.

What if a fitting or hose route seems questionable?

Confirm the fitting type, sealing method, and vehicle service specifications. Extra sealant cannot correct incompatible threads. I would recheck a doubtful layout, even if it looks tidy.

Conclusion

This guide explains how to plan oil cooler hose routing for dependable performance and long service life. Begin by assessing the cooling system’s requirements, expected operating conditions, and hose specifications. Then map a route that is efficient and protected from heat, sharp edges, moving components, and other potential sources of damage. Choosing compatible hoses and fittings, along with secure mounting points, helps maintain reliable connections and supports consistent oil flow.

During installation, avoid tight bends, twisting, tension, and unnecessary hose length. Allow suitable clearance and follow the hose’s recommended bend radius so it can accommodate normal movement and temperature changes. How to route oil cooler hoses for optimal performance? Use a carefully planned path, secure the lines without crushing them, and inspect every connection before operation. After installation, check for leaks and verify that the system operates as expected under normal conditions.

Henry

Henry

Henry is a dedicated marketing professional with a profound expertise in the company's offerings. With years of experience in the industry, he possesses an impressive understanding of the market dynamics and consumer behaviors that drive success. Henry is committed to sharing his insights through......