When temperatures fall, hoses do more than simply become cold. Water trapped inside can freeze, expand, and press against the hose wall. Rubber may stiffen, plastic can turn brittle, and metal fittings may contract at a different rate. After thawing, small cracks often appear as damp spots, bulges, or thin streams near the ends.
Why do some hoses leak after winter? The answer is rarely one single fault. Freeze damage is common, but loose clamps, aged seals, poor drainage, and repeated pressure changes also matter. In maintenance inspections, leaks often appear near connections rather than in the middle of the hose. A dry hose stored under sunlight may also suffer from ozone and ultraviolet damage, even during cold months.
Look closely.
A reliable inspection should include the full hose length, fittings, clamps, and nearby surfaces. Run water slowly, then check for sweating, pinhole sprays, or a soft section that feels unusually weak. For hydraulic or high-pressure hoses, never test a suspected defect with bare hands. Manufacturer guidance and replacement ratings should control the repair decision, not appearance alone.
It is tempting to blame winter and replace only the visible section. That approach can miss hidden weakening. I have seen hoses look acceptable outside while their inner layers had already separated. Still, not every post-winter leak is caused by freezing. Careful testing, proper storage, and timely replacement provide a more dependable explanation—and a safer repair.
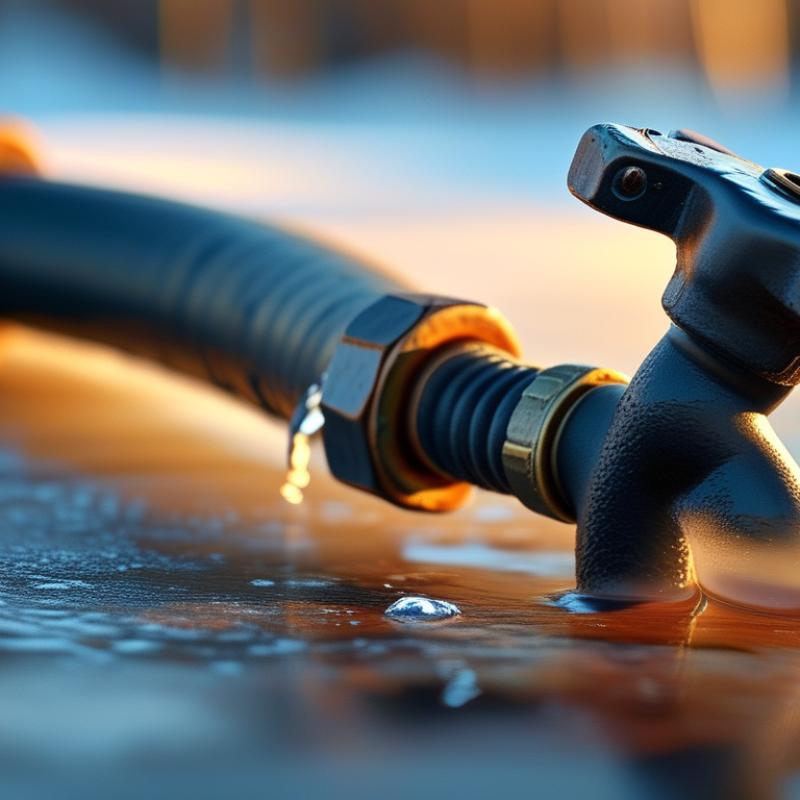
When winter freezes a hose, trapped water can expand by nearly 9 percent. That pressure pushes outward against the inner wall. Even a small remaining water pocket can create stress.
Freezing also makes rubber and plastic less flexible. They may develop tiny cracks, especially near fittings, bends, and flattened sections. During thawing, the hose expands and contracts again. This repeated movement can widen hidden damage. I have seen hoses look normal outside, then leak when water pressure returns. The leak often appears at a connection, but the weakened section may be several inches away. A careful inspection can still miss early damage.
Tips: Disconnect hoses before freezing weather and drain them completely. Store them loosely, away from sharp edges and direct sunlight. After thawing, inspect the surface for blisters, splits, stiffness, or white stress marks. Run water slowly at first. Watch for fine sprays around fittings and bends. Replace a hose with deep cracks or a damaged connector rather than relying on temporary tightening. I sometimes check hoses twice because the first inspection is not always enough. That extra pause seems minor, but it can reveal problems caused by the final thaw.
| Cause or Winter Condition | What Happens During Freezing | What Happens During Thawing | Typical Leak Location | Common Warning Signs | Risk Level | Recommended Prevention |
|---|---|---|---|---|---|---|
| Water trapped inside a closed hose | Water expands by approximately 9% when it freezes. This can create high internal pressure and stretch or split the hose wall. | When the ice melts, the split may open and release water under pressure. | Along the hose wall, especially at low points, bends, or previously weakened sections. | Bulges, longitudinal cracks, pinhole leaks, or a sudden loss of pressure. | High | Drain the hose completely, open both ends, and store it in a dry area above freezing. |
| Hose left connected to a water outlet | Water can remain trapped between the shutoff valve and the hose connection. Freezing may damage the hose, valve, washer, or threaded connection. | Melting water exposes damaged seals and fittings, often causing a leak at the connection. | Couplings, threaded ends, washers, and the connected outlet. | Dripping around the connector, cracked threads, or water leaking even when the outlet is closed. | High | Disconnect the hose before freezing weather and drain the outlet-side connection. |
| Repeated freeze–thaw cycles | Repeated expansion and contraction place cyclic stress on the hose wall, reinforcement layers, and fittings. | Small cracks may widen as the material returns to a warmer, more flexible state. | Existing kinks, bends, seams, and areas near end fittings. | Intermittent dripping, damp spots, or a leak that becomes worse after each cold spell. | High | Keep the hose drained and protected from repeated outdoor temperature changes. |
| Low-temperature embrittlement | Many polymer hoses become less flexible in cold conditions. Bending or pulling a stiff hose can create microscopic cracks. | Cracks may become visible or begin leaking when water pressure returns. | Sharp bends, dragged sections, and places that were folded while cold. | Stiffness, surface cracking, whitening, or a brittle feel. | High | Do not bend, coil tightly, or move a frozen hose. Warm it gradually before handling. |
| Residual water in couplings and fittings | Small amounts of water trapped behind washers or inside connectors can freeze and deform sealing surfaces. | Deformed washers may no longer maintain a watertight seal. | Gaskets, O-rings, quick-connect ends, and coupling interiors. | Leakage occurs only when the hose is connected or when pressure increases. | Medium | Remove, drain, and dry connectors. Inspect and replace flattened or cracked seals. |
| Pre-existing abrasion or puncture | Cold temperatures reduce material flexibility, allowing a worn area to split more easily under pressure. | The weakened section may open when internal pressure is restored. | Areas rubbed against concrete, sharp edges, gravel, or metal surfaces. | Scuff marks, exposed reinforcement, small cuts, or a concentrated spray. | High | Replace severely damaged hose sections and route hoses away from abrasive surfaces. |
| Hose stored with tight bends or kinks | Cold material resists shape changes. Tight coils and kinks concentrate stress in a small area. | The stressed area may remain permanently deformed and leak under pressure. | Inside radius of tight coils, kink points, and folds near storage hooks. | Flattened cross-section, permanent crease, weak spot, or reduced flow. | Medium | Store the hose in broad, loose coils without sharp bends or heavy objects on top. |
| Pressure applied before the hose fully thaws | Ice can block flow while the hose wall remains rigid. A sudden pressure increase may stress seals and weakened areas. | As ice melts, trapped water can move through newly formed cracks or displaced fittings. | Blocked sections, end fittings, and previously damaged wall areas. | Bulging, connector movement, unusual stiffness, or leakage after opening the valve. | High | Allow the hose to thaw naturally and inspect it before applying water pressure. |
| Thermal contraction of different materials | Hose polymers, metal connectors, and rubber seals contract at different rates as temperatures fall. | Once temperatures rise, small gaps or loss of compression may appear at the joint. | Transitions between hose material and metal or rigid plastic fittings. | Slow seepage around joints without an obvious crack in the hose wall. | Medium | Check fittings and seals after storage. Tighten only as recommended and replace damaged washers. |
| Long-term weathering before winter | Previous exposure to sunlight, heat, chemicals, and abrasion can reduce flexibility before freezing begins. | Freeze–thaw stress can reveal damage that was already developing beneath the surface. | Outer wall, exposed top surface, and hose ends. | Fading, surface crazing, chalky texture, stiffness, or multiple small leaks. | Medium | Replace hoses with extensive cracking or stiffness and store them away from sunlight and chemicals. |
| Improper winter storage | Outdoor storage exposes the hose to freezing temperatures, moisture, dirt, and mechanical loading. | Hidden damage may become apparent when the hose is uncoiled and pressurized. | Low points, contact areas, storage bends, and connection ends. | Flattening, frozen debris, damaged couplings, or leaks at several locations. | Medium | Drain, clean, dry, loosely coil, and store the hose in a protected location. |
| Incorrect repair or incompatible sealant | Temporary patches or unsuitable sealants may harden, shrink, or lose adhesion in cold temperatures. | Water pressure can reopen the repair or push water beneath the patch. | Patched sections, clamp edges, and adhesive boundaries. | Seepage around a patch, lifting tape, or a repair that fails at the first pressure cycle. | Medium | Use a correctly rated repair method or replace the hose when the wall is structurally damaged. |
Look for fine parallel cracks, swollen sections, flattened areas, stiffness, and tiny cuts. Some damage stays hidden. Check the underside too.
It may indicate a loose connection, damaged seal, corroded fitting, or incorrect assembly. Dry the area first. Then inspect again.
Pinholes can produce narrow, high-pressure jets that injure skin. Never check them with bare hands. Use cardboard instead.
Shut off the supply and release trapped pressure before touching the hose. Dry it completely and use bright light. Inspect bends, fittings, and flattened areas carefully.
A small leak may be repairable on a low-pressure utility hose. Cut away the damaged section with a clean blade. Insert a correctly sized connector and secure both sides.
Replace hoses carrying high pressure, fuel, or hazardous fluids when damage appears. Patching can fail suddenly. That risk is not worth guessing.
Restore pressure gradually and watch the joint for several minutes. Dry the connection, then check for fresh moisture. A leak may appear when the hose bends or warms.
Drain every hose completely, including low points near couplings. Store it indoors, away from sunlight, sharp edges, and chemical vapors. Keep coils loose.
Water expands when frozen and can stretch hose walls or split fittings. Small cracks may appear only after spring pressure returns. Insulation helps, but trapped water remains a problem.
People often miss the hose underside, aging clamps, and hidden internal damage. I sometimes trust a clean outer cover too much. Photographs can improve follow-up checks.
Winter can be tough on hoses because freezing temperatures cause trapped water to expand, placing pressure on the inner walls, fittings, and connectors. Repeated freezing and thawing may create small cracks, weaken seals, or loosen connections. Why do some hoses leak after winter? The most common reasons include residual water, brittle materials, poor storage, damaged couplings, and pressure stress. Even a minor split can become a noticeable leak when the hose is pressurized again.
After winter, inspect the entire hose for cracks, swelling, stiffness, abrasion, and corrosion around fittings. Run water through it slowly and check for dripping, spraying, or damp spots. Depending on the damage, repairs may involve tightening connections, replacing washers, cutting out a damaged section, or installing a suitable connector. If the hose is severely cracked or unsafe, replacement is the better option. To prevent future leaks, drain hoses completely, dry them, protect them from freezing temperatures, avoid sharp bends, and store them in a cool, sheltered location.

 Autowellix Autoparts